Search This Blog

Monday, March 20, 2017

Despite the forecast, live like IT IS SPRING


Welcoming Spring With Open Arms!
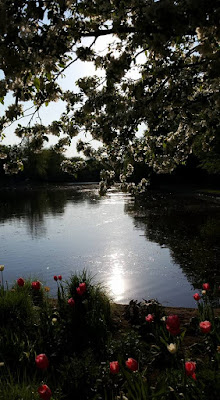
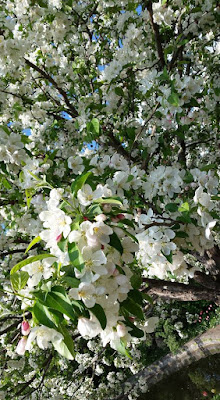
 this is the actual view this morning... 
#NoFilter
Depending on what the weather is like where you are, getting out & embracing the lovely weather may just be an option but if you're looking at surroundings a little closer to mine & further from spring  tackling some Spring Cleaning, or looking at pictures of pretty flowers may get your more in the mood to welcome the change in season! 

Every year Ottawa celebrates the Tulip Festival {as a gift after WW2 he Dutch Royal family sent 100,000 tulip bulbs to the capital city of Ottawa to show their Gratitude for Canadians having sheltered Princess Juliana & her daughters during the Nazi occupation of the Netherlands;} One of my absolute favourite things about living in Ottawa was this Festival! 
Below are a few photos Cody & I snapped there last Spring!


I did all the Spring cleaning I can do for the moment, we will be moving very soon so 75% of our stuff is currently in boxes, & I switched my capsule wardrobe to Spring a little
pre-maturely last week with the change of the clocks... but if you are in the mood to tackle a Cleaning or Organization project today check below for 5 up-cycled & Budget Friendly projects!


&
{since it doesn't necessarily look or feel like winter is as OVER as it actually is}

Friday, March 17, 2017

DIY St. Patricks Day Photo Props Tutorial


'I Mustache you to Kiss Me'
When St. Patrick's Day falls on FriDIY it feels essential for me to craft up something Festive to mark the occasion! A great project to do with the kiddies, & you probably already have everything you need at home, which also makes this a GREAT last minute craft Idea!
 Not to mention once you get to taking pictures with them, it is sure to end in laugh!

Supplied Needed: 
~ Paper Straws
~ Cardstock (in a variety of colours)
~ Scissors
~ Tape
~ Glue (I used Rubber Cement)
~ A pencil
I got started on this project last week, during a Power Outage & so do not recommend this. When working under candle light, scissors cast quite the shadow! 

Step 1. Start by drawing your Photo Prop Shapes / Stencils - This will make creating multiples MUCH simpler!
I chose to do; ~ Gold & Green Kisses, The Pot of Gold
 A mix of (Red/Orange & Green) Mustaches / Beards, & Green Beer(s)
Think outside the box, & get Creative with your prop Ideas... it will make for some hilarious shots!
If your Prop requires different colours, this will require your to draw individual stencils for each piece of the Image, which will then be traced onto different coloured sheets of cardstock & glued together to create the Photo Prop
I.e. The Green Beer, Beard & Pot Of Gold shapes.
Step 2. Trace out Your Stencils onto your sheets of coloured cardstock
Step 3. Cut out the shapes
Step 4. Using glue / Rubber Cement piece together the multi-piece Prop Shapes mentioned in Step. 1.
I always use & strongly recommend Rubber Cement for paper projects like this, as once it is dry the excess 'glue' can be easily removed without causing any damage or mess to the cardstock.
Step 5. Adhere the Prop Shapes to the end of a Paper Straw using tape!